Help · Getting started
Camera and views
You look at the model through a camera that you turn, move and zoom with the mouse. The view buttons on the right of the scene switch between 3D and flat views along an axis, and change how parts are drawn. None of this changes the project.
Turn, pan and zoom
- Turn — drag empty space with the left button. To turn while the cursor is over a part, hold the wheel down and drag: this works anywhere.
- Pan — drag with the right button, or hold Shift or Ctrl and drag empty space with the left button.
- Zoom — roll the wheel. The camera moves towards the point under the cursor, so point at what you want to see closer. You can keep rolling and go inside a cabinet.
- On a touch screen, drag with one finger to turn and pinch with two fingers to zoom.
Dragging a part with the left button moves the part, not the camera. See Keyboard and mouse.
Show the whole model
If you have zoomed in too far or lost the model, click the first view button, Back to the model: show all of it. The camera flies back so that the whole model fits on the screen, looking from the same direction. The room around it is left out, so the model fills the view.
Perspective and orthographic
3D perspective is the normal view: far parts look smaller. 3D orthographic draws everything at the same scale, with parallel lines staying parallel, which is easier for comparing sizes. You can turn and zoom in both.
Views along X, Y and Z
The buttons X, Y and Z give a flat orthographic view straight along an axis:
- X — the view from the right;
- Y — the view from the top;
- Z — the view from the front.
Press the same button again, or View from the other side that appears under it, to look from the left, the bottom or the back. A grey grid fills the view; its step follows the zoom.
In an axis view the camera holds still for small mouse movements, so a stray click doesn’t knock it off. If you drag further, it turns and shows 3D; let go, and it slides back to the axis. To leave the axis view, press 3D perspective or 3D orthographic.
More view buttons
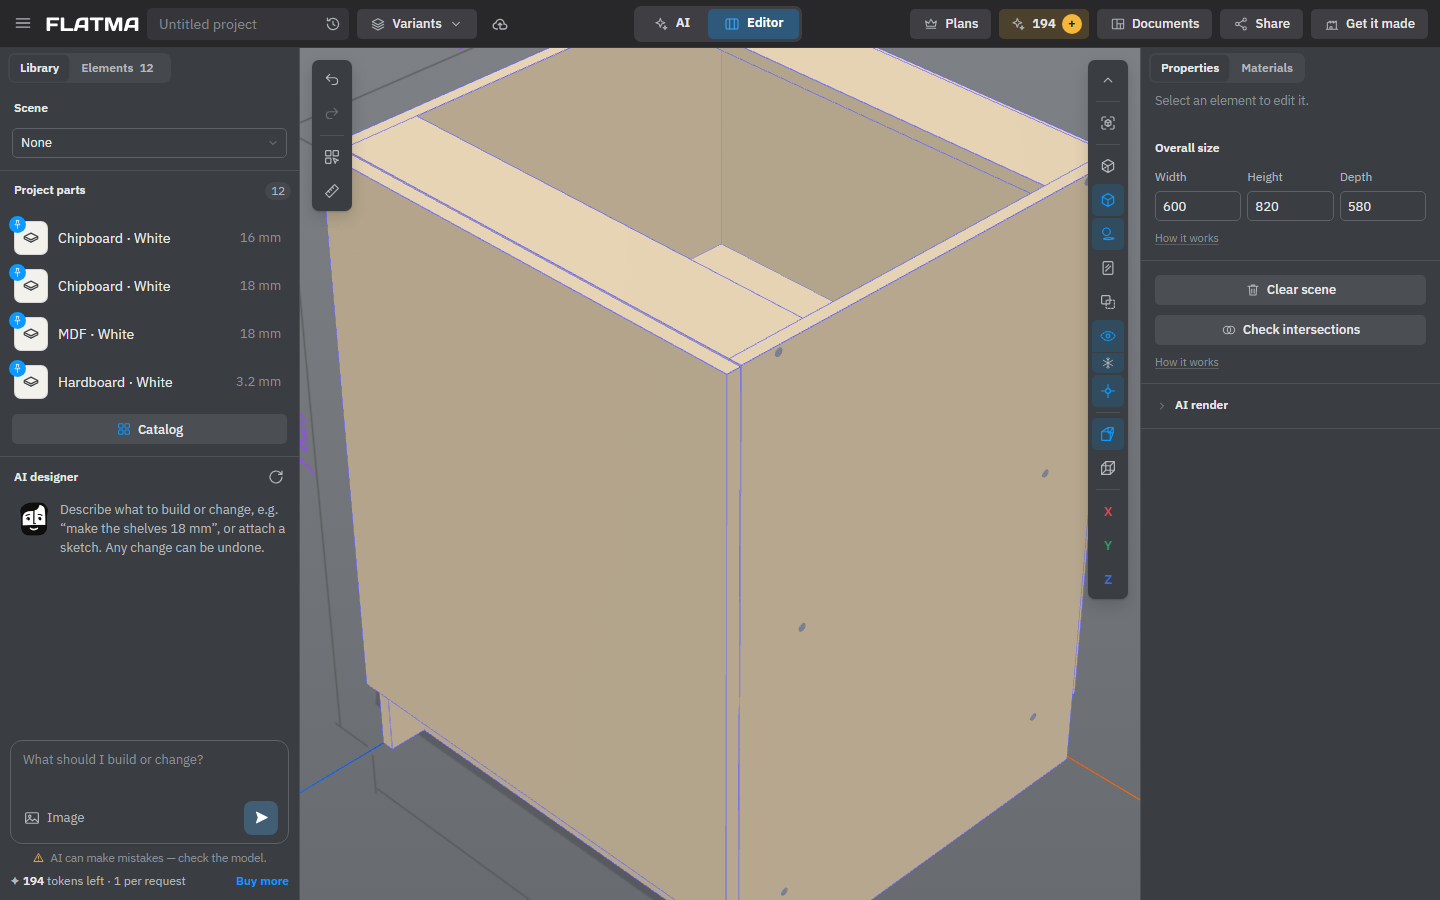
At first the panel shows only the arrow, 3D perspective and the axis buttons. Click the arrow, More view buttons, to see the rest. The browser remembers whether the panel is open.
- Contour mode — only the edges of parts are drawn. You see how the inside fits together, and you select a part by clicking one of its edges. Clicks on a part’s face go through it.
- Edges — the thin lines along the edges of parts, on or off. A selected part keeps its blue lines either way.
- Shadows — the soft shadow of the model on the ground, the floor and the walls, on or off.
- Mirrors reflect the scene — mirrors show the real model and room. It is off by default because it is slower on weak devices; without it, mirrors and gloss show a studio light.
- All parts half-transparent — every part becomes see-through at once. Click again to make them solid.
- See through parts near the camera — parts close to the camera are drawn only as edges, and clicks and the wheel go through them to the parts behind. Zoom towards a cabinet, and its door becomes an outline while the shelf inside stays solid and can be clicked.
- Freeze — appears under the see-through button while it is on. It keeps the parts that are see-through now, so you can move the camera without them turning solid again. Click it again to follow the camera.
- Fasteners — show or hide screws, dowels and hinges.
See-through is on by default in AI mode, where the view buttons sit under Undo and Redo at the top left. Contour mode and see-through pause while a workshop tool is open: the tool needs the solid parts.
These buttons only change what you see. Hidden fasteners, transparent parts and contour mode still go into the cutting maps, drawings and parts list as usual. The eye in the Elements list is different: a hidden part is left out of the documents too (see The Elements list).
See also: Keyboard and mouse, The studio at a glance, The Elements list, Floor and room.