Flatma · Community

Things people made in Flatma

Each project comes with its parts, cutting maps and drawings. Open one, change it and save your own copy.

Free wardrobe plans with the inside layout and the cut list

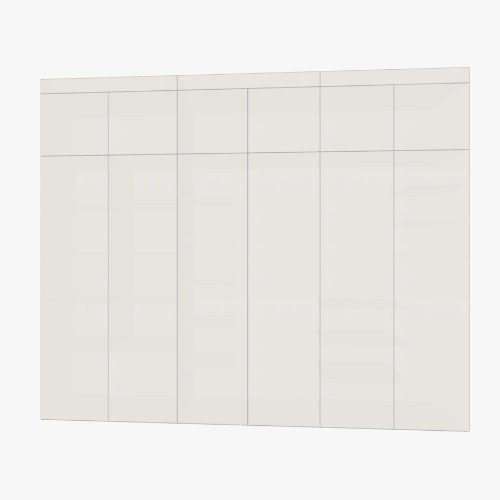
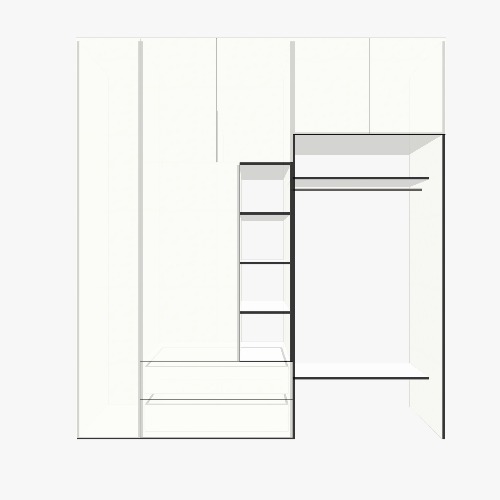
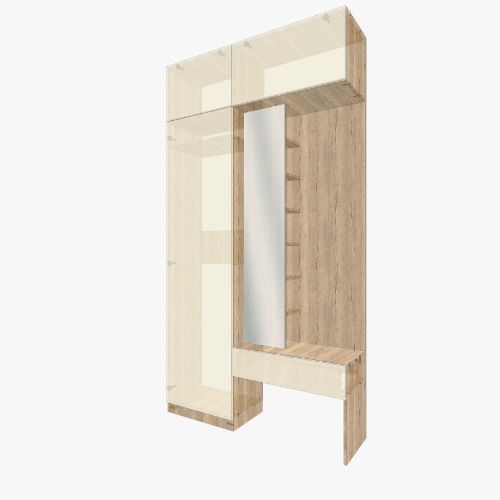
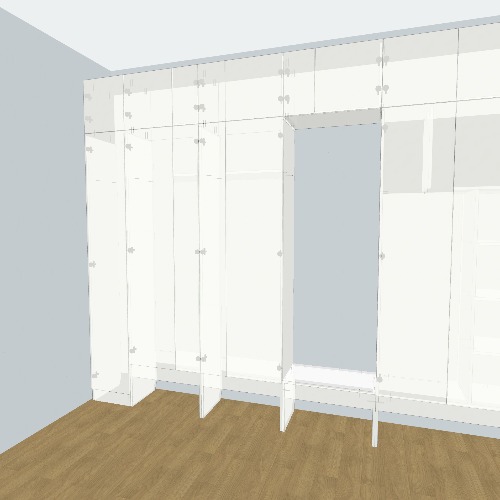
Wardrobes and closets people built in Flatma — with every shelf, partition and door as a part.

A wardrobe is mostly large panels: tall sides, long shelves, partitions, a back, and hinged or sliding doors. In a shared wardrobe project all of them are parts with their sizes, so the cutting maps show how many sheets the whole wardrobe takes, and the drawings show where to drill for the hinges and the joints.

Choose a plan by the inside layout first: hanging space for long and short clothes, shelves, drawers. Then look at the doors and the hardware list. When you change the width, height or depth for your room, the shelves and doors follow; check the layout after the change.

  • Sides, partitions, shelves, back and doors with their sizes.
  • The inside layout: hanging rails, shelves and drawers.
  • Drawings with the holes for hinges, rail holders and joints.
  • Cutting maps for the board and the length of edge banding.
  • Hardware to buy — hinges, sliding door profiles, rails, slides — as the project uses them.

Typical wardrobe sizes

Common values — measure your clothes and your room before you change the plan.

  • Depth with hangers across: about 600 mm; shelves alone need 350–450 mm.
  • Long clothes need 1500–1700 mm of hanging height, shirts and jackets 900–1000 mm.
  • Sliding doors take about 80–100 mm of the depth for their tracks.
  • Shelves of 16–18 mm board: keep spans to about 800–900 mm, or add a partition.
  • A wardrobe assembled lying down has to stand up under the ceiling: its diagonal must be shorter than the room height.

Fit a wardrobe plan to your room

Built-in or free-standing, the steps are the same.

Step 01

Pick a wardrobe

Choose a project with an inside layout close to what you need and look at its doors, hardware and parts on its page.

Step 02

Set your sizes

Click Open in Flatma and change the width, height and depth to your niche or wall, pick the board and decor, and save it as your own copy.

Step 03

Check the documents

In Documents look at the cutting maps, the drawings of the sides and partitions with their holes and the parts list of your version.

Step 04

Build or order

Assemble it yourself, take the documents to a cutting company, or send the project to a maker in your city through Get it made.

Wardrobe plans: questions and answers

Yes. Type the width, height and depth of the niche in the studio: the panels, shelves and doors follow, and the cutting maps are made again.
The project page shows the wardrobe in 3D, and its hardware list gives the hinges or sliding door profiles and everything else to buy.
Yes. Through Get it made you send the project to a maker in your city: one that makes the parts, or one that makes, delivers and installs the wardrobe.
Yes. They are shared under CC BY 4.0: build them for yourself or for clients, crediting the author.

Built something? Share it with the community.