Software interface
The left menu panel consists of two tabs:
"Library" — this tab contains all the necessary elements for designing and ready-made models. To start, simply drag the desired element into the design area.
"Elements" — this tab displays all the elements you’ve added to the design area. You can select, hide, or lock them, making the design process more convenient.
Icons explanation:
 — Panel type. You can assign a specific type (front, side wall, or frame) to each panel. This simplifies element identification and speeds up material adjustments.
 — Show/hide element dimensions. This makes the element independent of the overall dimensional scheme of other objects and excludes it from their calculations.
 — Element locking. A locked element is fixed in space, and its size cannot be changed. When locking is activated, the element’s outline turns green to visually indicate its status.
 — Show/hide elements. This function allows you to hide unnecessary objects or display them when needed.
Note: Hidden elements will not be included in the drawings.
The right menu panel contains two tabs:
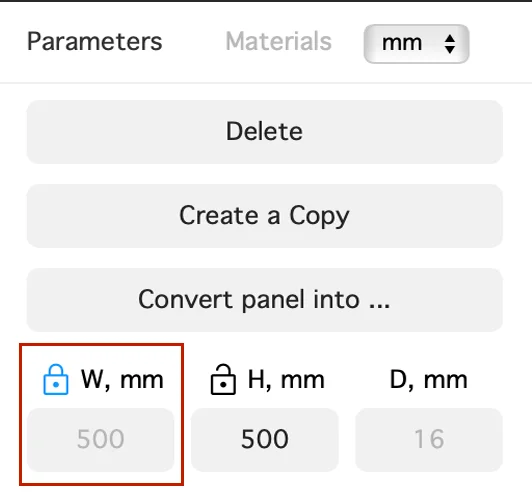
"Parameters" — Here, you can adjust the size of any element. There are three ways to do this: via this panel, in the workspace, or by clicking directly on the element.
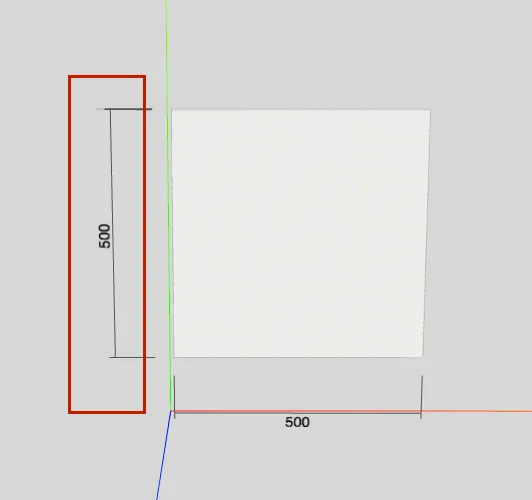
To lock size changes, uncheck the corresponding boxes. Locked dimensions will be highlighted in gray.
"Materials" — In this tab, you can change the color and material of an element.
- For better sheet layout optimization, it is recommended to select materials of the same color.
- By default, a 1 mm thick PVC edge is applied to any panel, but its size and color can be adjusted.
- Only one type of edge banding can be used for a single sheet material type.
2024-12-01