Sewing Machine Desk: DIY Plans, Dimensions & Assembly Guide
Interactive 3D model: rotate to inspect, open in designer to customize
This project is shared by the community and serves as a reference and starting point. Verify all dimensions and structural correctness before cutting
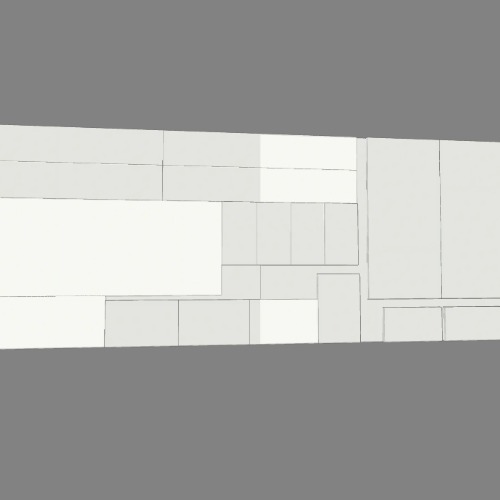
Total edge banding length - 4.48′ (14.69 m)
Total cutting length - 8.02′ (26.302 m)
| Materials | Hardware |
|---|---|
|
Laminated Particle Board 0.63″x72.05″x108.27″ (16x1830x2750 mm) ( color U707_9) - 1 pcs. + Edge banding 1 x 19 (U780_9) - 4.48′ (14.69 m) |
Hardware not specified |
Description by Flatma:
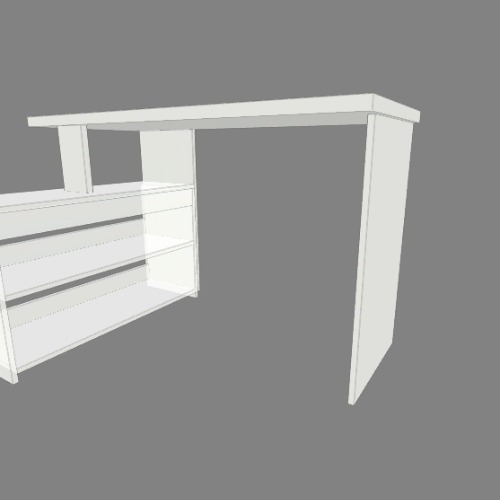
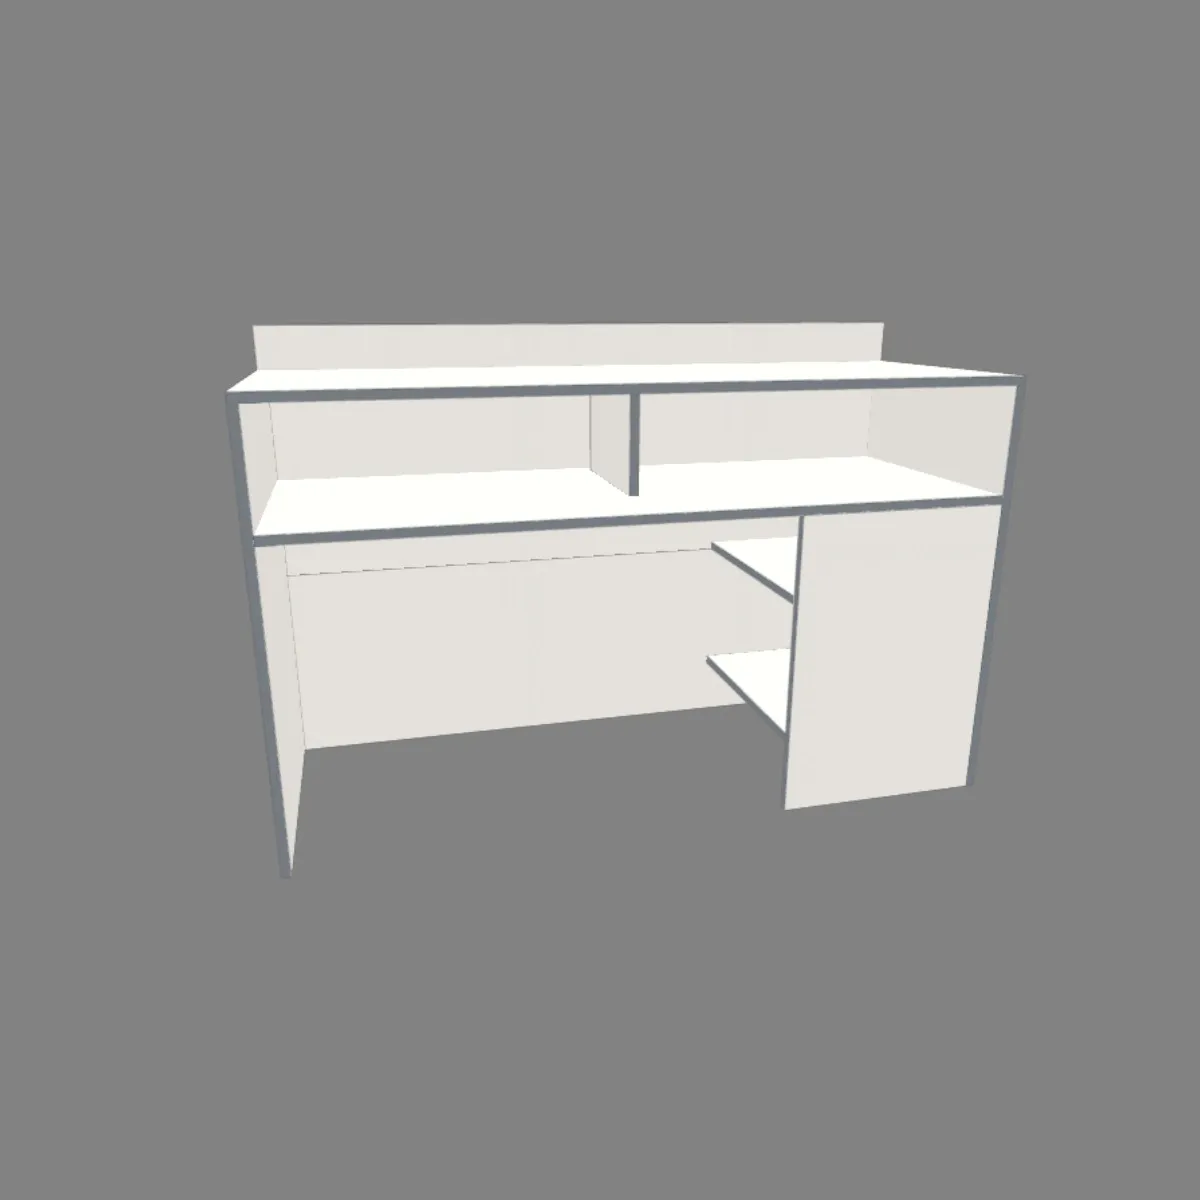
This modern freestanding desk design provides a dedicated and organized workspace for an industrial sewing machine. The clean rectangular form, featuring both open and closed storage, creates a functional hub for sewing projects in a home studio or professional setting. The design prioritizes ergonomics with a leg-free zone under the machine and elevated storage for easy access to tools and supplies, offering design inspiration for a compact and efficient craft room layout.
Construction Details: Sewing Machine Desk Plans with Dimensions
The desk is engineered for a standard industrial sewing machine table height of 90 cm (35.4 inches). The rectangular carcass provides a stable base, with one closed cabinet and one open shelf section for storage. This configuration allows for organized space utilization, keeping essential items within reach while concealing bulkier supplies. The design adheres to common workspace standards, providing a substantial surface area for fabric handling and machine operation.
Materials and Hardware
Primary construction utilizes a single sheet of 16mm thick laminated particle board (melamine board) in a U707_9 matte finish. The material efficiency rate for this project is 82.5%. All exposed edges are finished with 1 x 19 edge banding in color U780_9, requiring a total length of 14.69 meters (approximately 48.2 feet) for a clean, polished appearance.
Assembly Process
Assembly involves cutting the single sheet of melamine board into panels, with a total cut length of 26.302 meters. The process focuses on joining the cabinet carcass, securing the shelf, and attaching the door panel. Precise application of the 14.69 meters of edge banding is crucial for durability and a finished look. Blueprints provide a step-by-step guide for panel orientation and connection.
Adaptation Options
These desk plans serve as a reference material and starting point for customization. The dimensions may require adjustment to fit specific site conditions or a different machine model. Blueprints are available for preview before downloading, allowing for review of the construction logic and material layout prior to any project commitment.
Frequently Asked Questions
Q: How can I adjust this desk to fit a smaller sewing room?
A: The depth or width of the cabinet carcass can be reduced, recalculating panel sizes from the single sheet of material. The original design achieves an 82.5% material utilization rate, so any changes should aim to maintain high efficiency from the standard 1830x2750mm sheet.
Q: What materials do I need to build this sewing desk?
A: Construction requires one full sheet of 16mm laminated particle board (LDSB) in finish U707_9. You will also need 14.69 meters of 1 x 19 edge banding in color U780_9 to finish all visible panel edges, as detailed in the materials list.
Q: How complex is the assembly for a beginner?
A: The assembly involves managing a significant total cut length of 26.302 meters from one sheet. Careful layout is key. The process is straightforward for someone familiar with basic cabinet assembly, focusing on building a box carcass, adding internal partitions, and applying edge banding.
Q: How do I download and use these blueprints?
A: Blueprints are available for preview, showing the cutting diagram and part dimensions. After downloading, use them as a reference to develop your final cut list, adapting measurements as needed for your specific machine and room before purchasing materials.